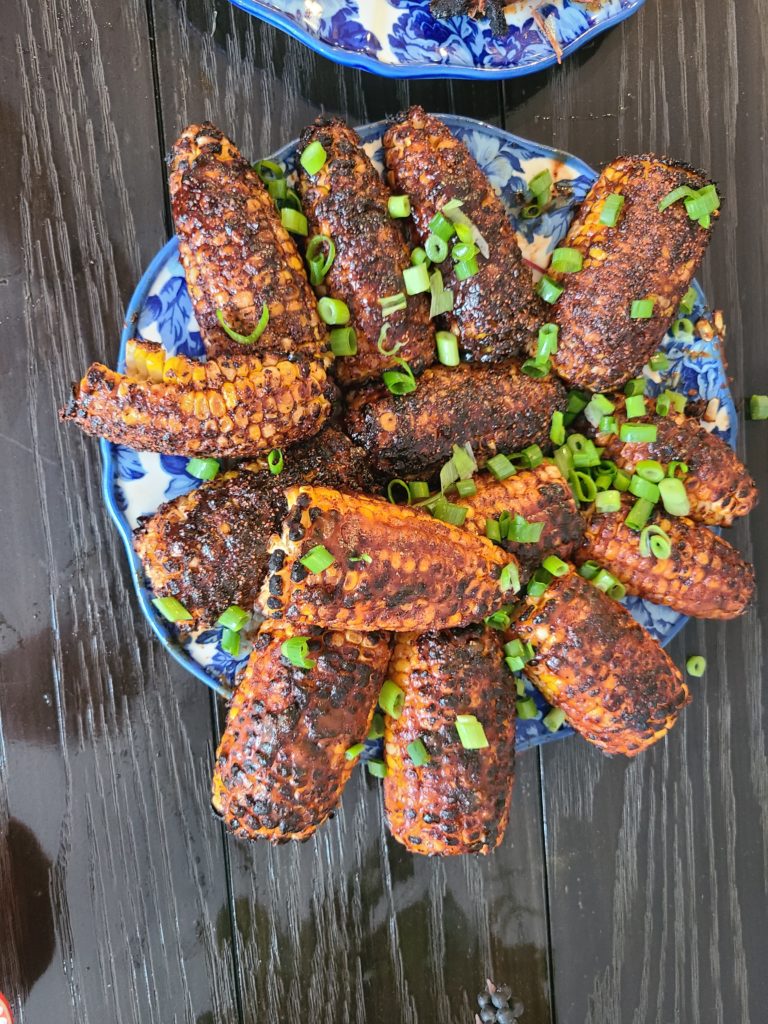
An intriguing change from traditional corn on the cob. Start with 4 ears of corn, shucked. Cut cob in half, and then split each half down the middle by carefully cutting through the center of the cob. When you are done, you should have 16 corn ribs.
You can now use your favorite BBQ sauce and rub to slather over the ribs. Using direct heat, preheat the grill to a medium-high temp and oil the grates. Place the corn ribs on the grill and close the lid. Cook until they begin to char, about 6-8 minutes. Flip ribs and repeat.
You can either serve as-is, or brush with more sauce and rub. Sprinkle with scallions and serve.
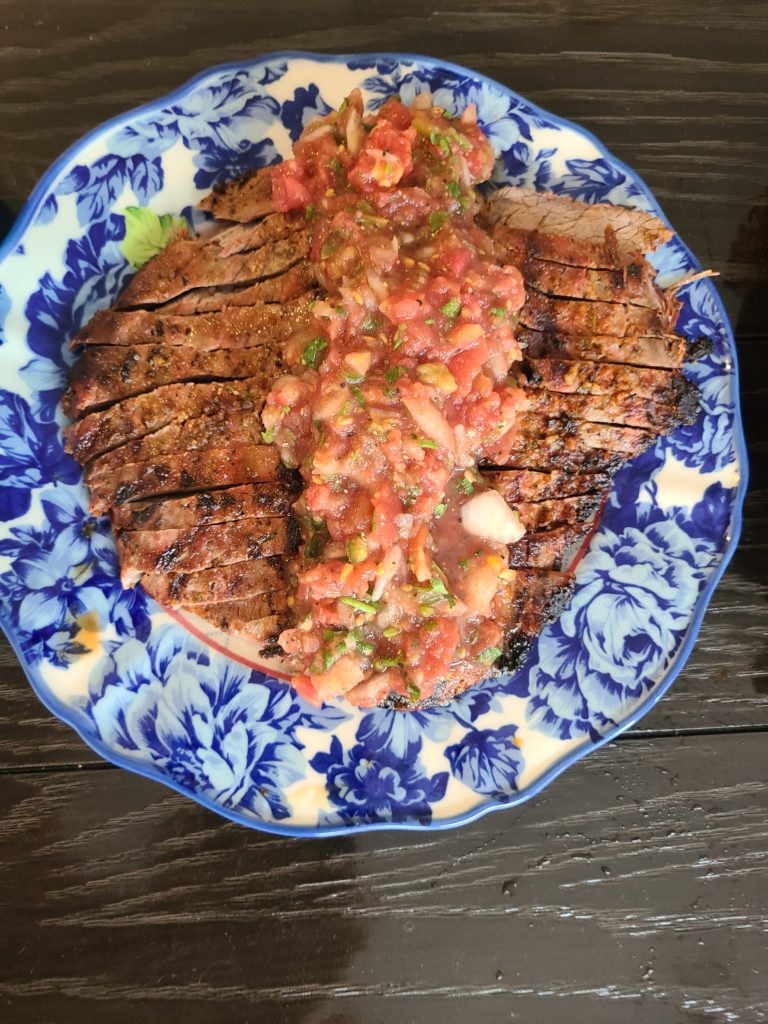
Started with a 2 pound flank steak. Marinated it in the juice of 3 oranges, 2 lemons and 4 limes, along with 3 cloves of garlic, 1/2C fresh Cilantro, 1 jalapeño, 1/2t cumin, 1/4C olive oil, 1t salt and 1t pepper. Let it sit in the fridge overnight then rubbed with my favorite beef rub and smoked for 1 hour at 165F. Finished on the gas grill over direct heat, until internal temp of 135F, about 6 minutes/side.
Made the salsa using fresh tomatoes from the garden. Skinned and crushed about 2 pounds of plumb tomatoes, 2 sweet onions chopped, 3 jalapenos, and 1 bunch of cilantro. Salt and pepper to taste plus the juice of 1 lime. Always better the next day!
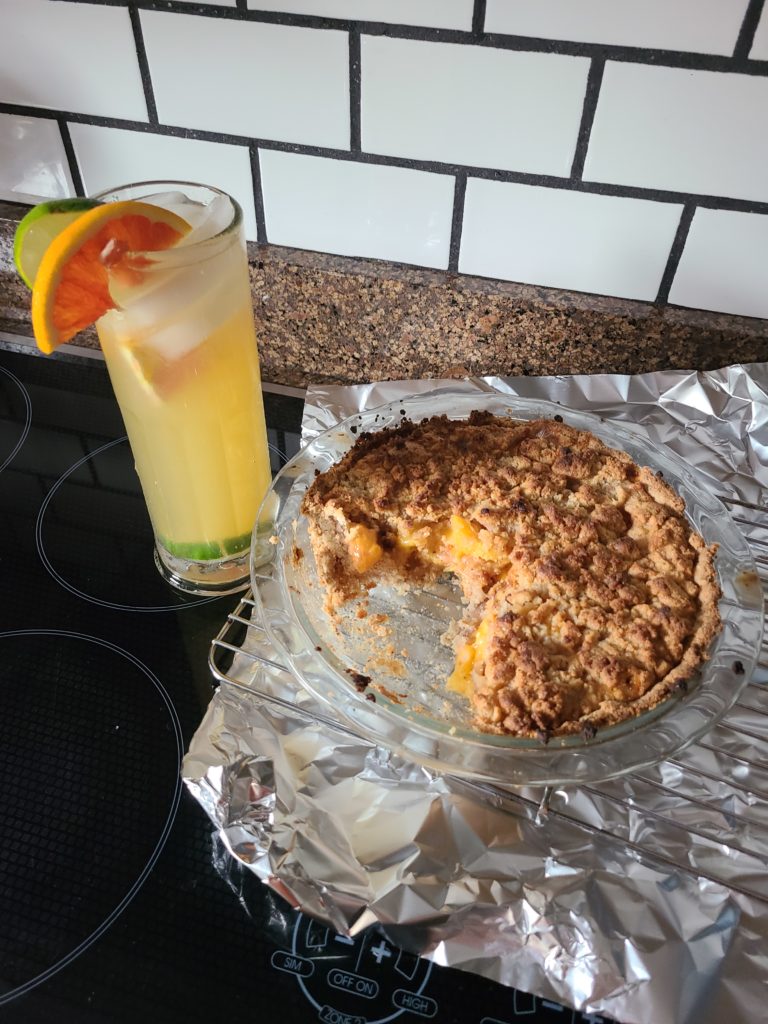
Finished the meal with this homemade peach pie and margarita- recipes available on request.
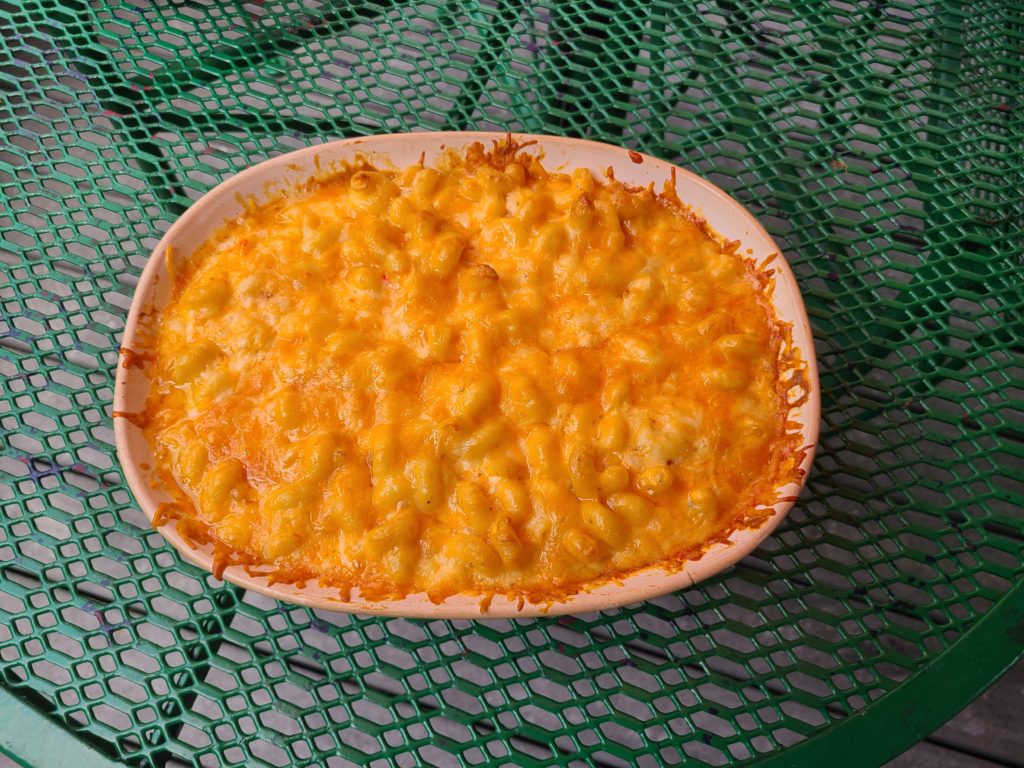
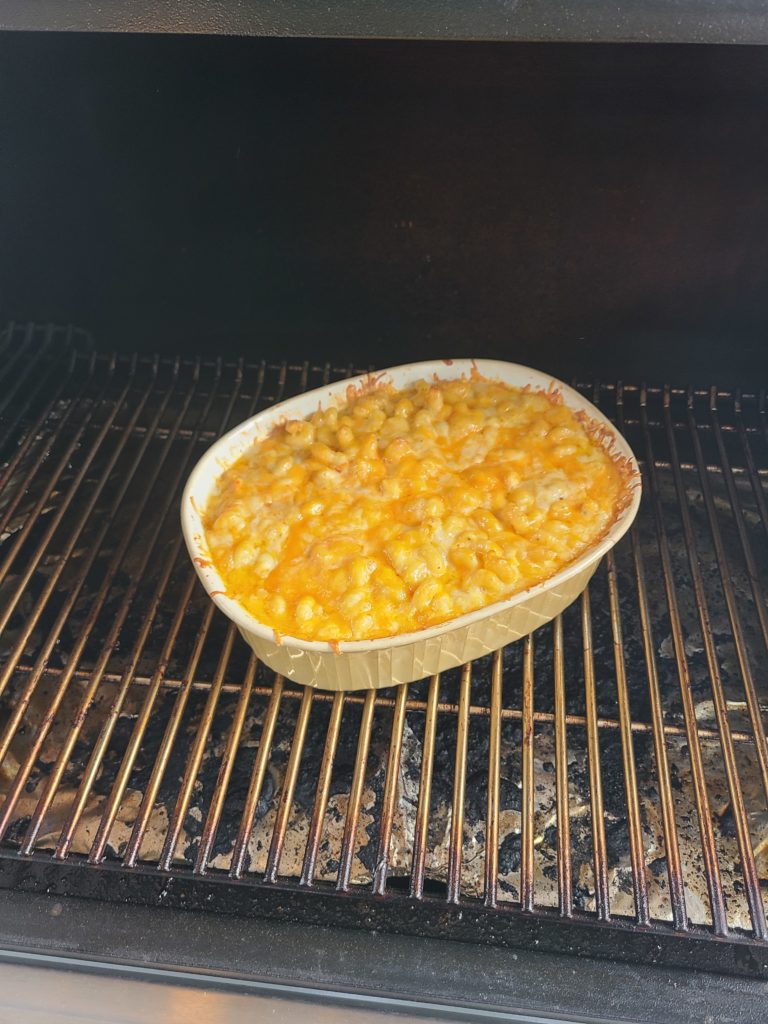
I adapted this recipe from Patti Labelle for the smoker. It is the BEST mac & cheese you will ever have!
Ingredients:
1T vegetable oil
1# macaroni
9T butter
1C muenster cheese, shredded
1C mild cheddar cheese, shredded
1C sharp cheddar cheese, shredded
1C Monterey jack cheese, shredded
16oz Velveeta cheese, cubed
2C half-and-half
2 eggs, lightly beaten
1t seasoning salt
.5t black pepper
Dirctions:
Cook macaroni in 1T oil until somewhat tender, about 7 minutes. Drain & return to pot.
Melt 8T of butter and stir into macaroni.
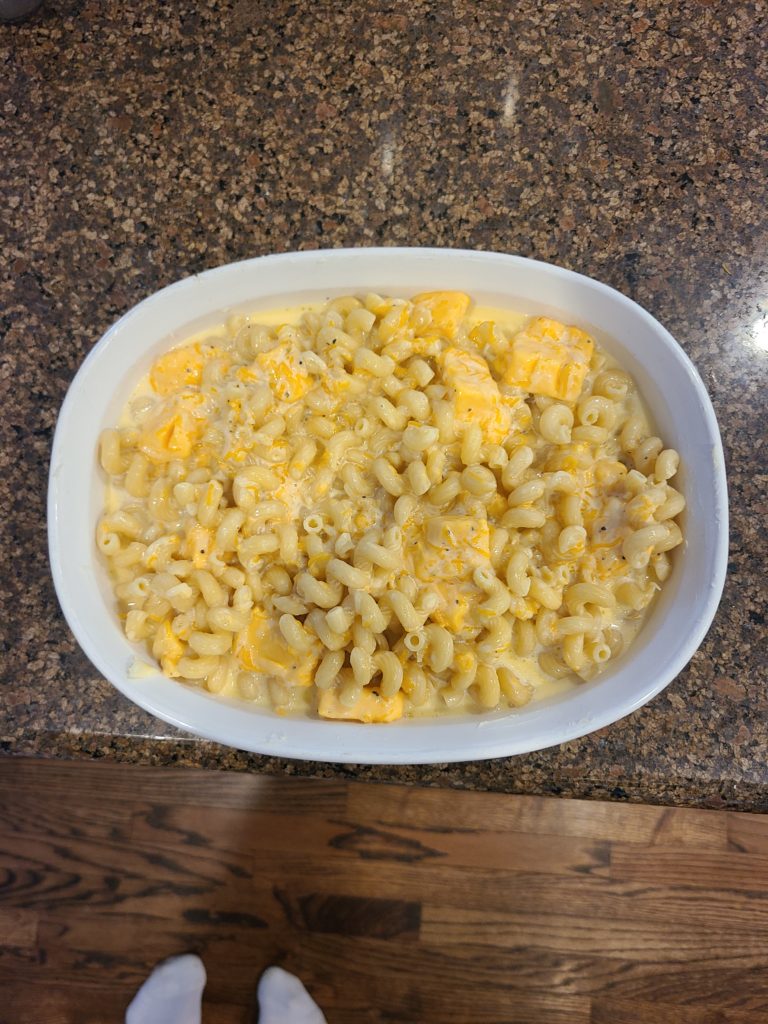
Mix all the shredded cheeses and add 3C to the macaroni, along with the Velveeta, half-and-half, eggs, seasoning salt & pepper.
Butter a 2.5Qt casserole dish and add macaroni mix to the dish.
Set smoker for ‘smoke’ or lowest heat setting. Smoke the mac & cheese for 60 minutes, stirring at the 30 and 60 minute mark. Top with the remaining 1C shredded cheese and dot with 1T butter.. Turn the heat up to 350F and continue cooking for about 30 minutes, or until the edges are golden brown and bubbly.
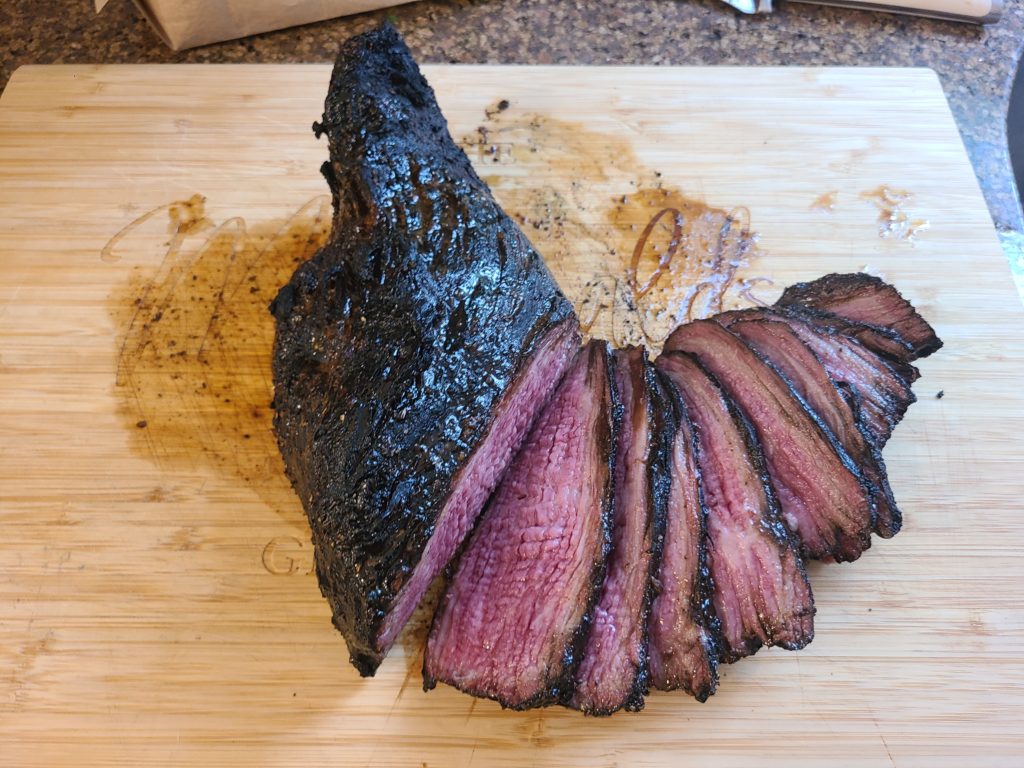
Found this baby at my butcher, marinating in a soy/teriyaki mix. Decided to give it a try and it did not disappoint. Roast was about 4 pounds. Smoked at 165F for 2.5 hours, until the internal temp was 120F. Moved over to direct heat and seared for 4 minutes/side. Wrapped in paper and returned to the smoker at 225F. Continued cooking until IT was 140F. Pulled and let rest for 30 minutes.
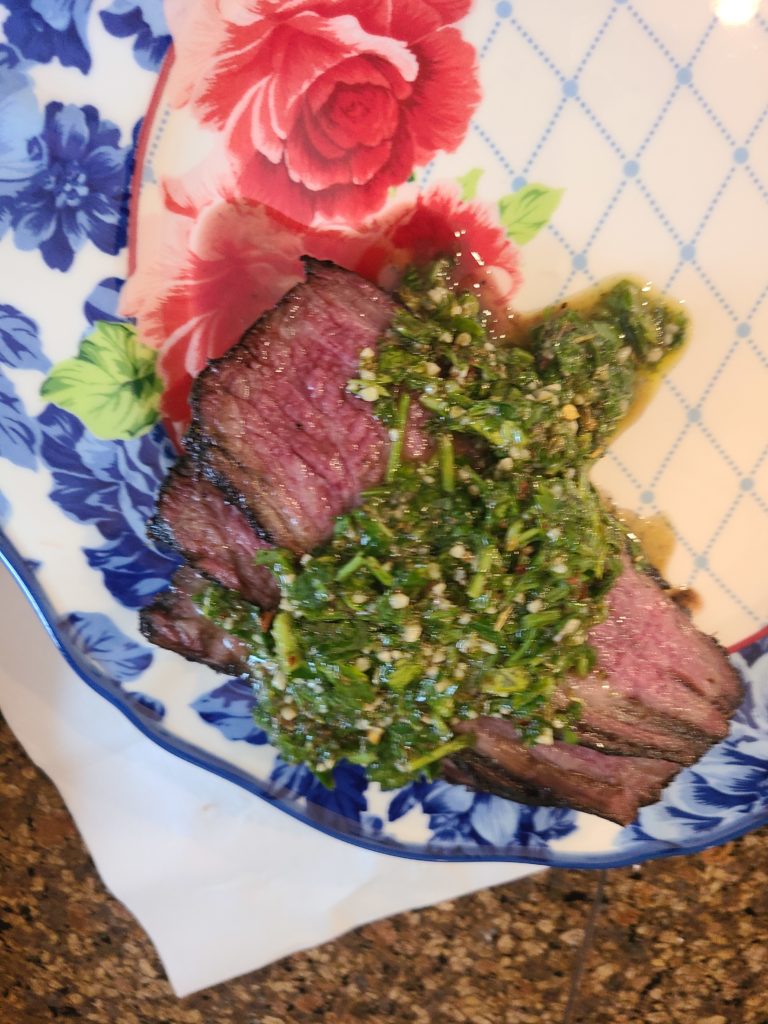
Made a chimichurri sauce to garnish it with. Wife thought the sauce was better than the meat!
2 Cup packed fresh Italian parsley
4 Teaspoon dried oregano or 1/4 cup packed fresh oregano leaves
4 Clove garlic, peeled and smashed
1/2 Cup extra-virgin olive oil
1/4 Cup red wine vinegar
1/2 Teaspoon kosher salt
1/4 Teaspoon freshly ground black pepper
1/2 Teaspoon red pepper flakes
Place all ingredients for chimichurri in a blender and pulse until it reaches a chopped-like consistency.
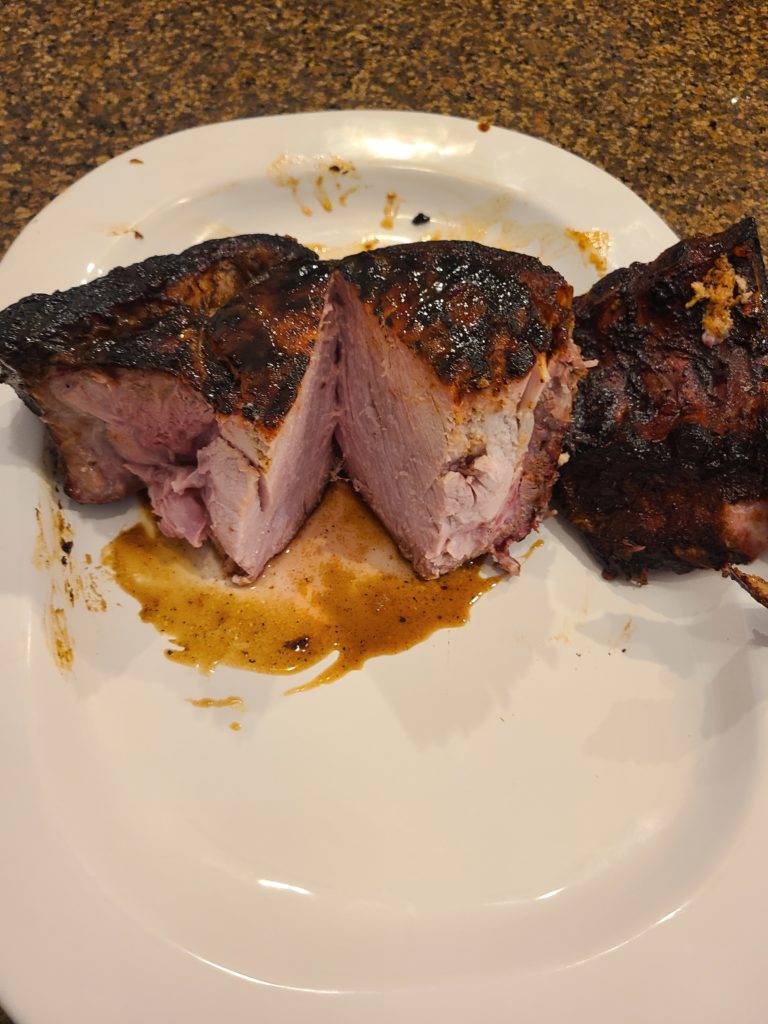
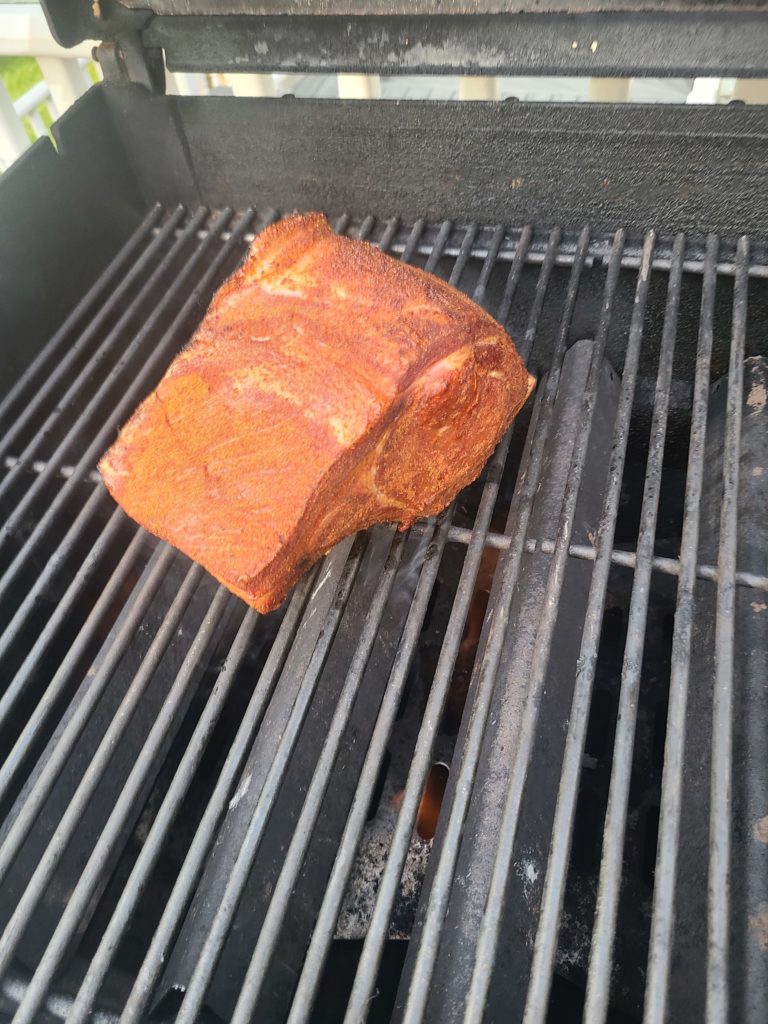
What a beautiful and tasty cut of meat. Center cut, bone-in pork chop. About 2-3″ thick, brined overnight, smoked for 4 hours, seared, and moved back to the Traeger until the internal temperature gets to 145F.
Start with good bone-in, pork loin chops…looks like a Porterhouse steak. Cut at 2-3″ thick, will weigh 18-24oz each. The ingredients in this post will make 4 chops.
Brine the chops for at least 8 hours. Start with 2 Cups boiling water and dissolve 1/2C Kosher salt and 1/2C granulated white sugar. Add hot slurry to about half a gallon of cold water and top with ice to make 1 gallon of brine. Add the chops, submerging them completely, and let sit for 8 hours or overnight in the refrigerator. You can’t brine them too long, but the more they sit in the brine, the more ham like your pork chop will be (which I don’t see a problem with). These went 24 hours in the brine.
About 5 hours before you want to eat, take the chops out of the brine, rinse in cold water, pat dry, and cover them in this rub: 1/4C brown sugar, 1t onion powder, 1t garlic powder, 1T chili powder, 2t Kosher salt, 1t cumin, 1t ground black pepper and 1T paprika.
Once rubbed, place on smoker at lowest level- I used 165F and supersmoke. Let smoke for 3-5 hours, or until internal temperature gets to 120F- don’t smoke beyond this point as the sear will add heat too. At this point, sear the chops over high heat for a couple of minutes/side. I use my gas Weber Genesis cranked up to about 700 degrees. Watch the chops closely, as the fat will start dripping over direct heat and create one heck of a fire! Get them good and seared, but not burned, before returning to the Smoker.
Once seared, turn up the heat on the Smoker to 225F and cook until the internal temperature gets to 145F. Lather on your favorite BBQ sauce for the final 20 minutes, cooking for 10 minutes on each side.
After you pull the chops, let rest for 10-15 minutes before diving in.
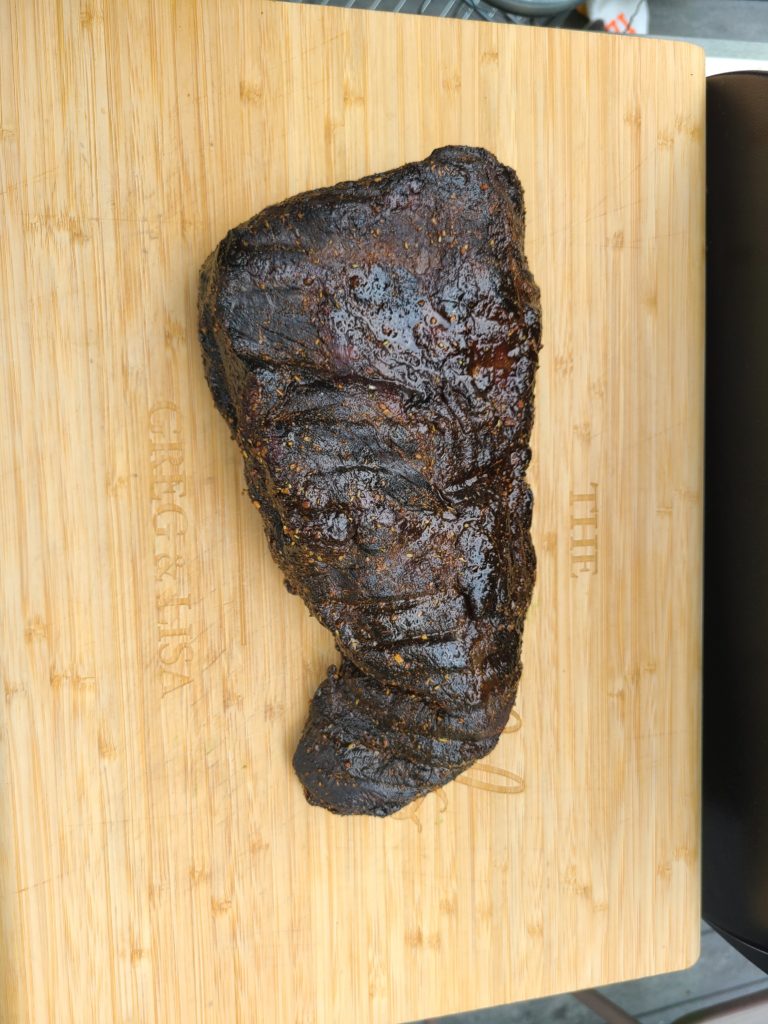
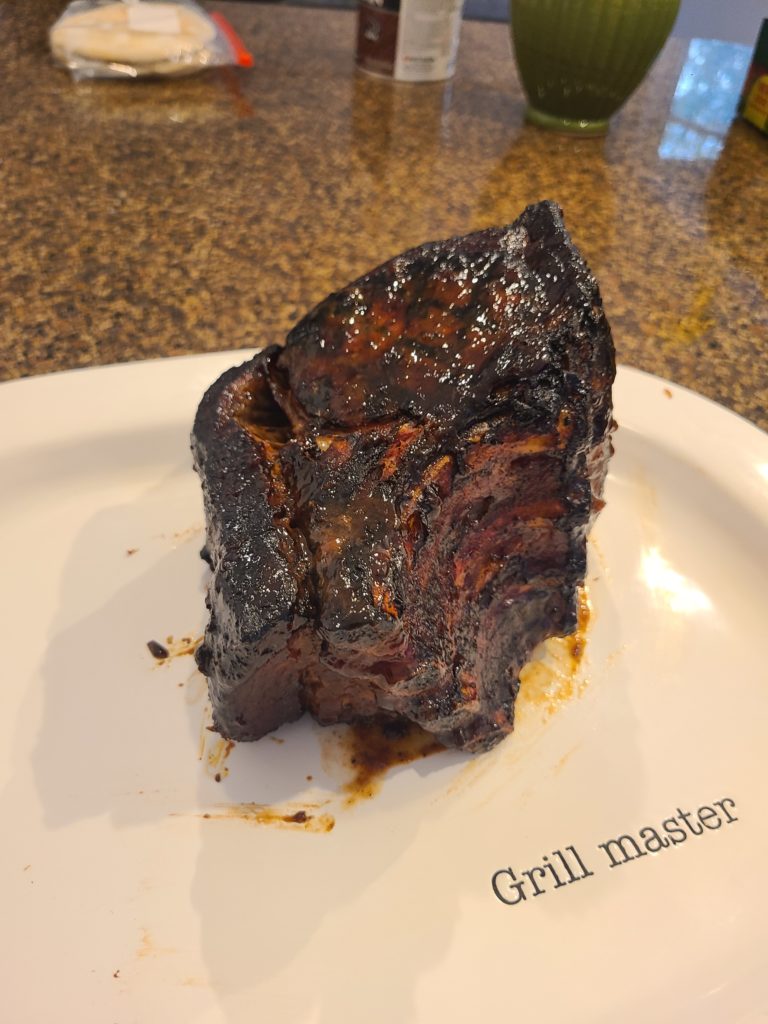
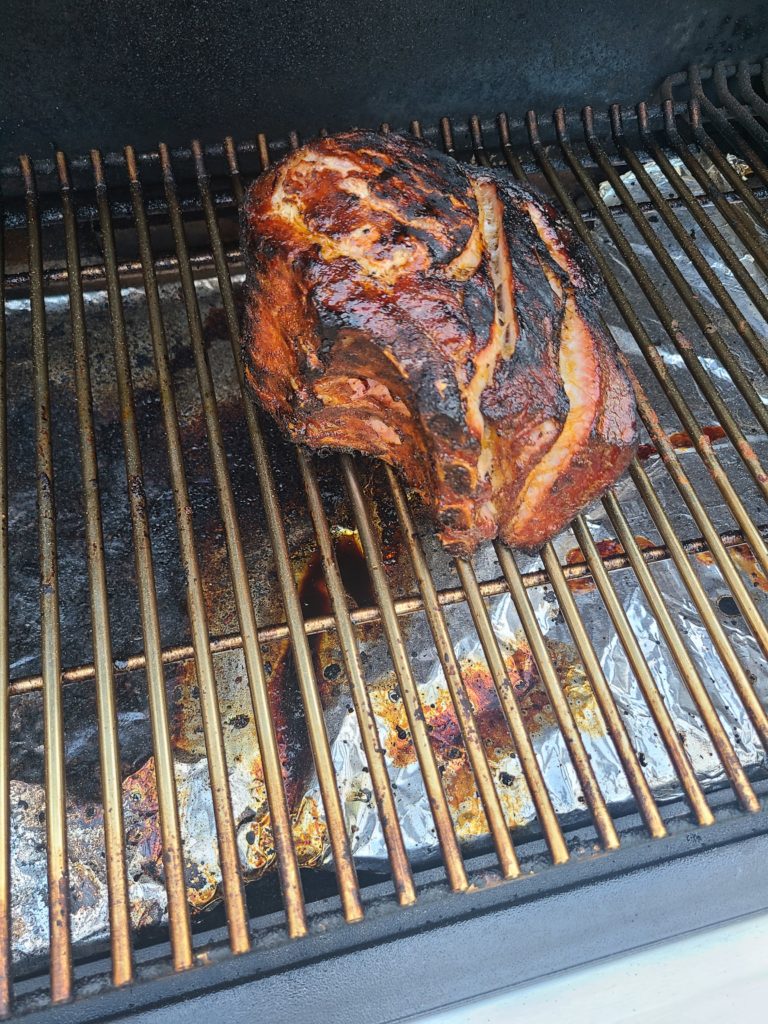
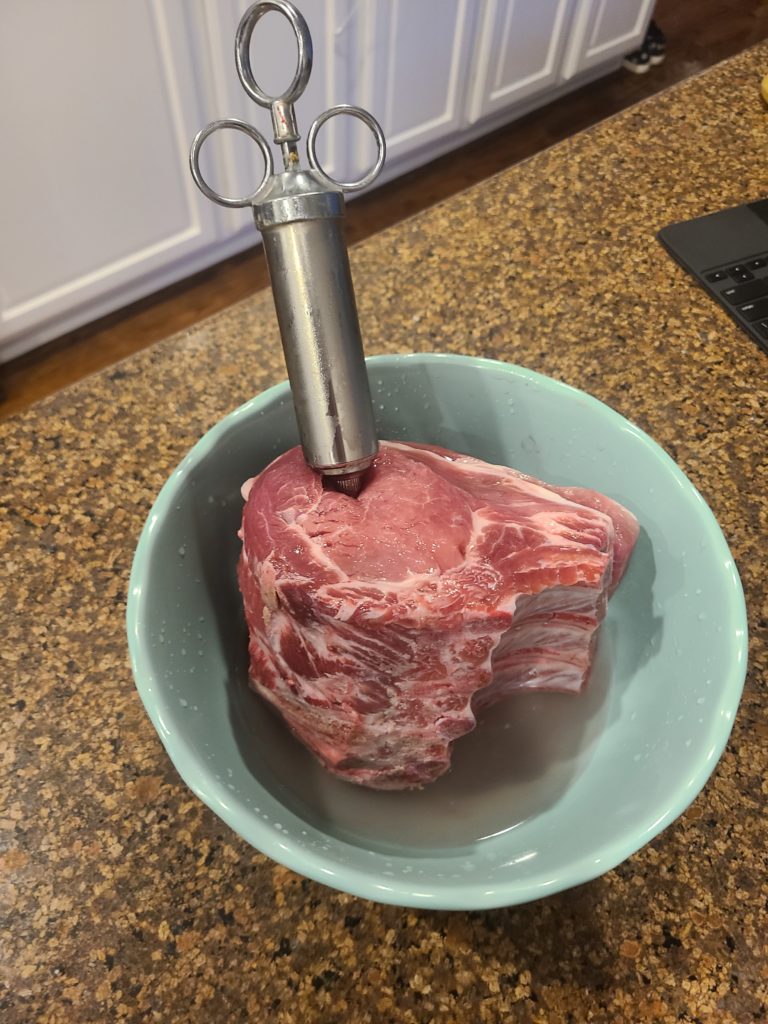
Smoked pork chop with a twice baked potatoTried a 3 1/2#, 4″ pork chop. It was YUGE!
Decided to inject this bad boy before marinating. Middle picture shows smoked chop just about to get seared. Left picture shows seared chop going back on the smoker to ride up to 140F.
Just bought a simple chuck roast. Seasoned it and let it go on super smoke for 3 hours. Turned the heat up to 250 and cooked for another 6 hours, spritzing every 90 minutes with a 50/50 mix of apple cider vinegar and water. Got the internal temp to 200 before letting it rest for 30 minutes before eating. Was really surprised at how much it shrank, but it was good. Not the best cut of meat I’ve ever had, but very good.
Picked up this baby from a new butcher I just found in Oberlin (price of haircut just went up!) Never tried skirt steak before, so I gave it a whirl, and boy was it a good idea! Seasoned with onion powder, garlic powder, salt and pepper. Smoked for 3 hours, then seared on the gas grill for a minute or two each side.
Topped with a peach salsa. Halved and pitted 3 peaches. Grilled over direct heat for about 2 minutes each side, until the sugars in the peaches started to caramelize. Let the peaches cool and then tossed them with a diced plumb tomato, a minced jalapeño, a green bell pepper, diced red onion, a chopped up bunch of cilantro, one juiced lime, a tablespoon of honey and salt and pepper.
Very, very tasty. Similar taste to Carne Asada, as apparently skirt steak is what most Mexican restaurants will use.
While I smoke baby back ribs all the time, I only tried beef ribs once. Way too fatty for my liking. Then I found short ribs and my life has changed!
So much meatier than pork ribs, and without the fat of full sized ribs, these babies were outstanding! Rubbed each rack with Traeger Prime Rib Rub. Smoked for 5 hours, where they rose in temperature from 40 – 160F. Wrapped one of the racks in foil and added about 1/2 cup of French Onion soup. Let the other ride, with an hourly spritz of apple cider vinegar.
Turned the temperature up to 225 and let ride for another 5 hours until the internal temperature reached 204. Let rest for 15 minutes and enjoyed! The picture above is from the rack that was not wrapped.
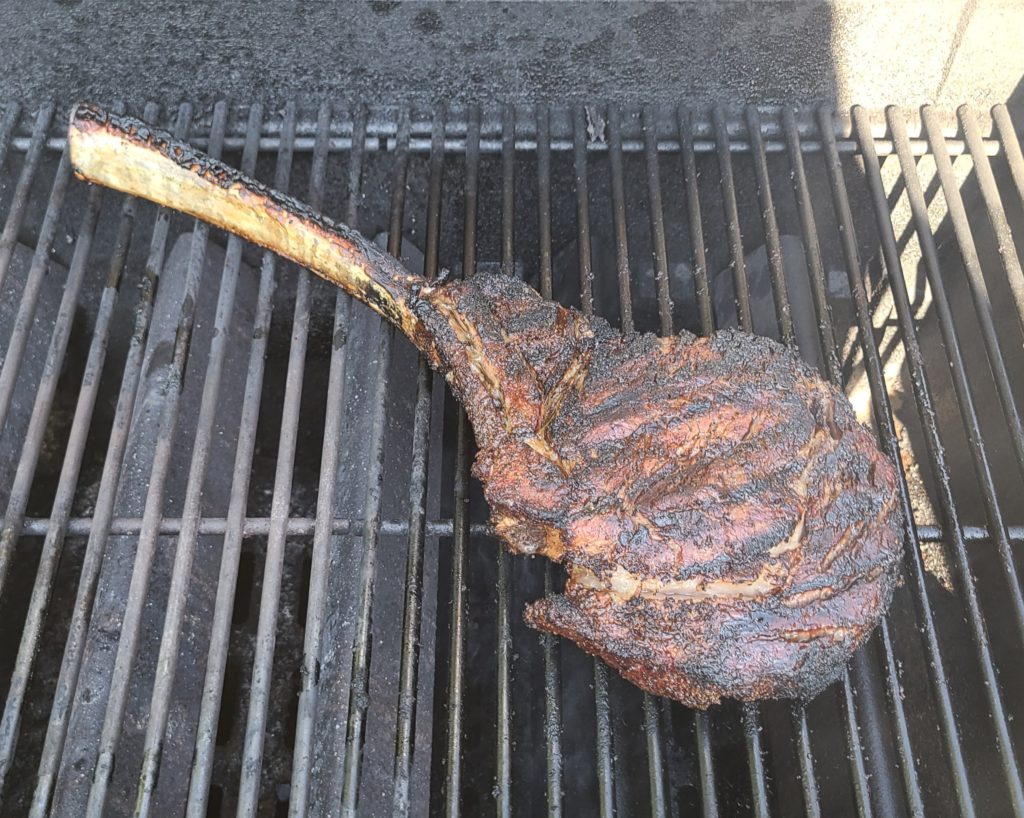
Fred Flintstone would be envious! Bring out your carnal man by cooking up one of these!
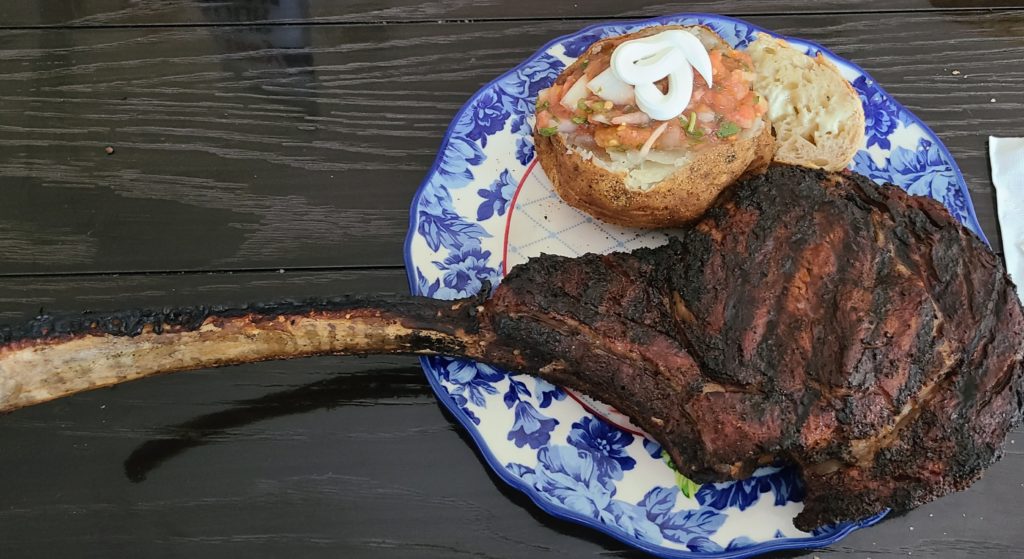
Occasionally, my butcher will have Tomahawk Ribeyes, with a giant rib bone still attached to a most wonderful steak. Whether you go for this barbaric delight, of prefer a nice strip or filet, the process is the same.
Start by seasoning the steak with your favorite steak seasoning. I prefer Chicago Steak Seasoning. Smoke the steak on your smoker for an hour. Then, move to direct heat and grill until done. Should only take a couple of minutes/side
Believe it or not, I don’t just use my smoker for meat. This twice baked potato is a great side for any of you entrées.
Ingredients
4 large baking potatoes
1/2 pound bacon
4 tablespoons butter
1 large onion, chopped
1/2 cup chopped fresh mushrooms
1 teaspoon crushed red pepper
1 teaspoon garlic powder
1 teaspoon ground black pepper
1 teaspoon chopped fresh chives
1 teaspoon salt
1 (8 ounce) container sour cream
1 (8 ounce) package shredded Cheddar cheese
1 teaspoon dry bread crumbs
Directions
Preheat smoker to 400F. Use a fork to pierce the potato skins.
Bake the potatoes unwrapped for about 1 hour, or until soft, in the preheated smoker.
Place bacon in a large, deep skillet. Cook over medium high heat until evenly brown. Drain, crumble and set aside.
Over medium-low heat melt the butter in a large saucepan. Combine onion, mushrooms, red pepper, garlic powder, pepper, chives and salt. Cook slowly, stirring occasionally until the onions are soft.
Slice open the baked potatoes and, keeping the skins intact, scoop the insides into a medium bowl. Transfer the onion mixture to the bowl. Mix in the sour cream. Pour in 1/2 of the cheese and continue mixing until all ingredients are well blended.
Using a large spoon, fill the potato skins with the mixture. Top with bread crumbs, the remaining cheese and bacon.
Return the potatoes to the preheated smoker and continue baking for about 15 minutes, until the cheese is melted and the filling is slightly brown.